


7 Step Knee Replacement Procedure – Carried Out at Hunjan Hospital
In this blog post, we are going to tell you the steps of how orthopaedic doctors carry out knee replacement in Ludhiana.
Are you also finding it?
If you are among those who are finding a reputed orthopaedic hospital in Ludhiana to get yourself free from the orthopaedic issues, then your search is over here. Hunjan Hospital is a well-reputed hospital in the whole of North India. And we are proud to tell you that it is only we (Hunjan Hospital) who have brought about the Robotic-assisted knee replacement surgery, for the first time, in the whole of north India.
Hear a Benefit!
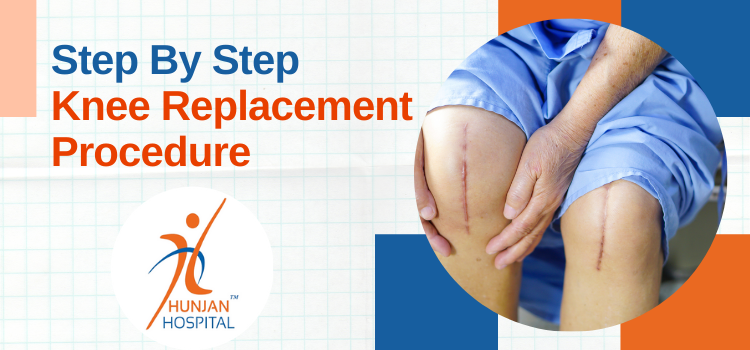
Earlier the knee replacements surgeries were carried out by making large incisions. But our doctors worked quintessentially hard for that and finally came up with the advancement in the procedure which has made it a minimally invasive procedure. The smaller incisions are made for replacing the knee.
Step 1: Shaping the DFB (Distal Femoral Bone)
Once the doctor successfully enters the knee joint, then he aims at placing the customised knee instrumentation at the terminating point of the femur. With this device, it is super-easy to ensure that the bone is getting a cut to match the ideal and the original angles of the legs. With this device, it becomes super easy to cut the deteriorated pieces of the bone and replace them with metal surfaces.
Step 2: Preparation of PTB (Proximal Tibial Bone)
This step ensures that the alignment of the knee comes out to be satisfactory. The effort is to turn the attention towards the lower bone. In this step, the top of the tibia is cut with some distinctive kind of knee instrument.
Step 3: Removal of Patella
In case, the patella is also found to be severely damaged, then it will be intended to get removed.
Step 4: Preparation of the prosthesis
In his step, all the giant preparations for knee replacements are made. Have you guessed? Yes, we are talking about the cutting of the metal prosthesis. It is cut in the way and the dimensions so that it can match the taper. It is with the help of the epoxy cement, that the bone is sought to be attached at the end of the femur.
Step 5: Placing of the Tibial Components
The topmost part of the tibia will have an attachment of the metal tray that will be holding the polyethene spacer. This procedure is super benefitting since if it tends to be getting water out when the rest of the knee is totally in great condition, then it can be replaced.
Step 6: Cementing of the Patella Button
The back portion of the patella is placed with the patella button. The doctor will only make this decision based on the degree of arthritis.
Step 7: Incisions Closing
For effective stitching of the incisions, either nylon or the reabsorbibles stitches are used.
Related Post

Play Safe, Recover Strong: Home Remedies for Minor Sports Injuries and When to See a Doctor
By: Hunjan_Hospital
July 16, 2024

ऑस्टियोपोरोसिस की बीमारी से हो सकती है हड्डियां खोखली, पुरुष भी हो रहे है इस समस्या से शिकार
By: Hunjan_Hospital
July 13, 2024

किन बातों का ध्यान रखने से घुटने हो जाएंगे तंदुरुस्त? जानिए एक्सपर्ट्स द्वारा बताए गए ये टिप्स & ट्रिक्स
By: Hunjan_Hospital
June 29, 2024